DIY: How to Install Wood Planks on a Wall

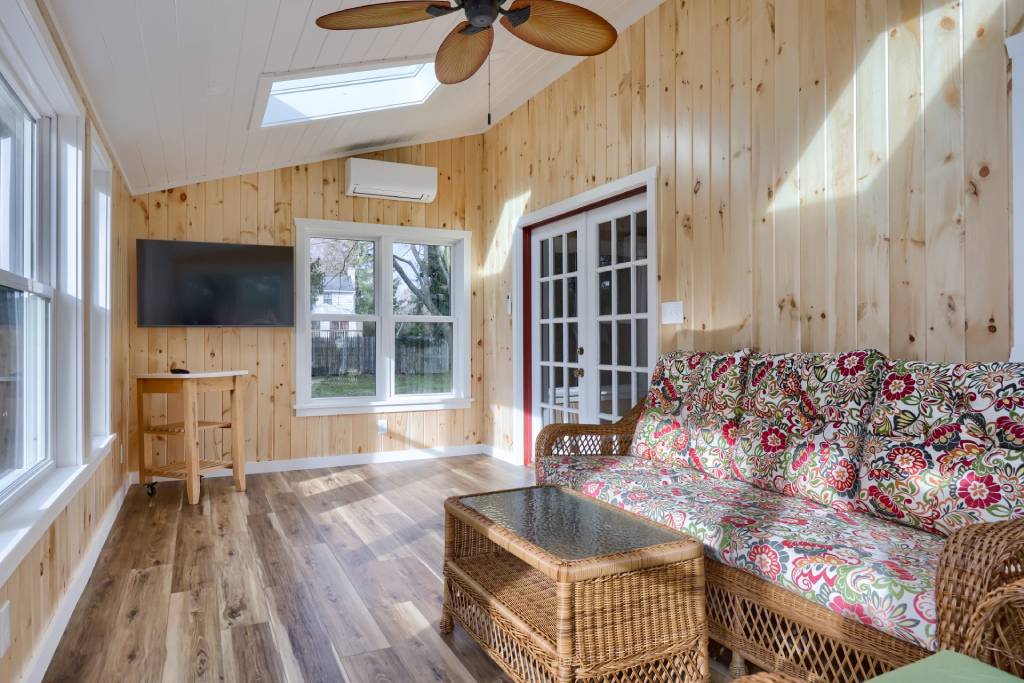
Did you know that adding wood planks to your walls can increase both the aesthetics and value of your home? It’s true! This DIY project might seem daunting, but with the right tools and a bit of know-how, you can give your space a stylish, updated look. Here at Prestige Wood Products, we specialize in high-quality, pre-finished white pine wood boards that are perfect for wall and ceiling projects. Whether you’re aiming for a modern or rustic look, our tongue and groove paneling for walls and ceilings are the way to go. So, keep reading to learn more about how to install wood planks on walls. And hey, if you need a hand right away, don’t hesitate to reach out to us at Prestige Wood Products to learn more about how to install wood planks on walls or ceilings.
Call Now
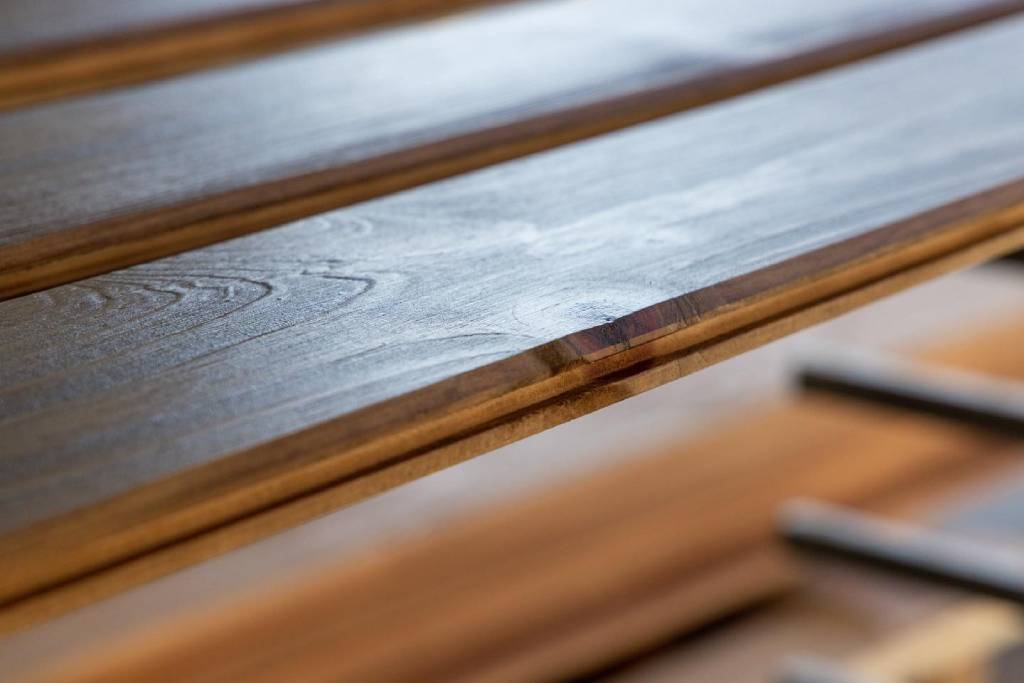
A Guide to Seamless Tongue and Groove Wall Plank Installation

Not sure how to install wood planks on wall or ceiling areas? Not a problem. Our DIY wood wall planks are designed for easy installation, even for those who have never done it before. Follow these steps for a flawless tongue and groove wall plank installation:
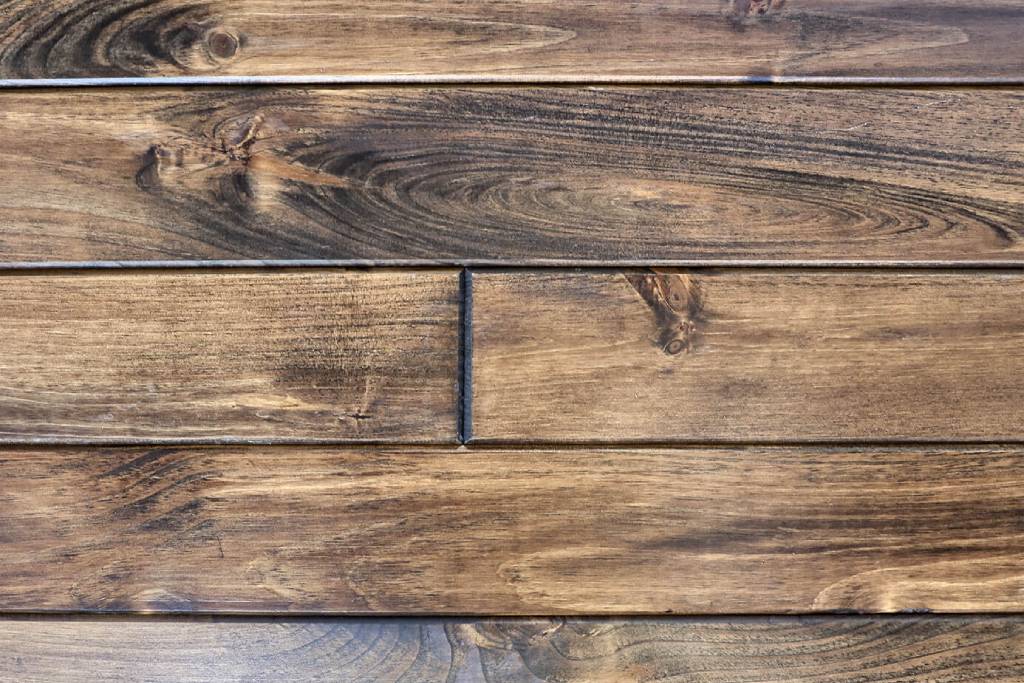
- The first step is to take a full-length board and cut a random length. Then attach that random length piece to the perimeter wall with the cut side facing the perimeter. Keep the other piece of the cut board for later use.
- Next, slide in the full-length pieces. The tongue and groove interlocking mechanism should allow them to fit seamlessly. Keep doing this until you finish the first run.
- Now that your first run is done, start at the opposite wall (where the first run finishes) and use the other half of the end piece from the initial cut in step 1. Repeat step 2 to finish the second run of tongue and groove wall planks.
- Measure to the splice of the second run and adjust the length of your next cut by either adding or subtracting 12 inches. Cut the modified length from a full-length board and use it as the starting point for the third run of tongue and groove wall planks.
- Continue to repeat the steps above to cover the entire wall or ceiling surface.
For a more detailed guide, view our installation instructions. And if you’re looking for some inspiration for how to install wood planks on a wall, take a look at our Wood Products Gallery.
Pro Tips for Tongue and Groove Paneling for Walls

Installing tongue and groove paneling for walls not only enhances the look of your home but also adds a timeless appeal. To ensure your DIY wood wall plank project goes smoothly and your panels look great for years to come, consider these tips:
- Acclimate Your Panels: Before you start the installation, it’s crucial to let the tongue and groove planks acclimate to your home’s environment. This 72-hour period allows the wood to adjust to the temperature and humidity levels of your space, reducing the risk of warping or gaps after installation.
- Seam Tightness: When installing, pay special attention to keeping the seams tight. Tight seams prevent the boards from moving or twisting over time, especially in environments with fluctuating temperatures. Use a rubber mallet gently along the groove side to ensure a snug fit without damaging the wood.
- Regular Dusting: Keep your tongue and groove paneling looking pristine with regular dusting. Use a soft cloth or a microfiber duster to prevent the buildup of dust and allergens. It’s especially important in homes with pets or high traffic, as dust can accumulate quickly on horizontal surfaces like ledges and panel tops.
- Proper Cleaning: For a deeper clean, we recommend using a mild solution of dish detergent and warm water. After wiping down the surface, a second rinse with clean warm water should remove any soap residue. Always finish by thoroughly drying the boards with a clean, dry towel or cloth. Learn more about product care and maintenance instructions on our site!
- Enhance with Polyurethane: To continue to maintain the sheen of the wood, an additional coat of quality water-based polyurethane can work wonders. This not only enhances the look, but also adds an extra layer of protection against scratches, dents, and even UV damage. Apply it as needed following the manufacturer’s instructions for the best results.
- Avoid Power Washing for Exteriors: If your tongue and groove for walls are used outdoors, resist the temptation to use a power washer. Although it might seem like a quick cleaning solution, the intense pressure can damage the wood, strip the finish, and force water into places it shouldn’t go. Instead, opt for gentle cleaning methods similar to interior care.
Get Started on Your DIY Wood Wall Plank Project Today!
At Prestige Wood Products, we’re not just manufacturers. We’re craftsmen passionate about quality woodwork. From carefully sourcing our lumber to ensuring each board is finished to perfection, we’re dedicated to providing you with products that will make your home look stunning for years to come. Whether you’re a seasoned DIYer or new to the game, our tongue and groove wall planks are designed for easy installation, giving your space that professional touch.
Ready to start your DIY wood wall plank project? Visit our website to find a dealer near you, or contact us for a consultation. Your perfect wall is just a few planks away!
